Welcome, welcome to the start of my A-Z art journaling adventure! I posted about being accountable to myself and just wanted to do this little project for me personally, giving myself time to play and reflect…because I feel that it’s really important to nurture our personal projects – whether a concrete goal or just fanciful thoughts. With everything going on in our busy lives, sometimes it’s hard to make time to just creatively play. We all want to do certain things, but consider creative play an extra rather than part of our schedules. I decided to schedule time for my art journaling, because it is important to me and deserves to be a priority. Each weekday I’m going to journal on a topic around a chosen word, as I go through the alphabet A-Z. I like having that bit of structure as well as the beginning and end to this little idea. This will go on through November for Art Every Day Month as well…join me if you’d like to play along! So to begin I spent today making my journal and decorating the cover.
I didn’t have anything in mind and just went with my whim for everything. Sometimes we overplan and it’s just not as fun anymore…so I really want to get free and go crazy with this project. Go with the flow and just see what happens. I’ve been trying to organize and clean my space as well, so really trying to use all the bits and bobs I already have rather than buying more supplies. It’s so easy to forget that you have something in supply already! So I decide to go with a half-page size journal, not too ambitious to ensure I could finish a page a day.
Taking some watercolor paper I already had lying around, I took it out of the binding and just ripped each sheet in half, enough for the entire alphabet. I actually really like the circle part, so just left that in as part of the paper of my journal. Adds a bit of detail and texture already!
I poked my holes with an awl and just bound it together using the Japanese stab binding technique. You can find a lot of tutorials online and it’s super easy. I just sort of wing it…whatever holds it all together.
I ended up with an even number of holes, so the ends of the strings didn’t end up in the middle, but instead of trying to hide it on the back, I thought it would be great to incorporate into the cover of my journal. I painted with acrylic paint, scratched all over, added pieces of die-cut leather, felt hearts, paper cutouts and letter stickers for the titling. Just things I had lying around and quite happy with the results. I think sometimes if you just go with the process it’ll come out balanced in the end…no worries on perfect composition!
My favorite part is the messy painting and scratching parts. I just love the texture and sort of random natural forms…definitely fun, too! Here are so close-ups so you can see the details and that’s it for today. Just made the journal and decorated my cover to start with! Until tomorrow!
Hi folks! I have a bunch of character sketches and thought it would be nice to share them as freebie digital stamps…so here’s another handdrawn one…Mr Toby I call him…
Looking to make a faux library card pocket for your paper projects? Print your own using this free printable library card template – a free PDF download.
In writing my handmade zine (Issue 2 of Pensieri) named Pockets Galore, I’ve been exploring all kinds of pockets we can print-at-home and make for paper crafting projects.
I’ve made so many examples and prototypes and it’s a fun process to test out what works! One such pocket type is the old school library card pockets at the front of books. I don’t think libraries actually use them anymore, but they still look so cool!
You can probably find them in old library books or vintage paper lots, but it’s a lot easier to just make your own! Use my printable library card template to make as many as you need for your cards, journals and planner decoration.
Just print out the PDF template I’ve created, trim to size, fold along lines and glue to your project. You can obviously distress it or decorate as you would like as well.
By the way, I’ve also designed printable library journaling cards in the past, so you can print those out and stick those in the pocket as well.
I love to use this printable library card template for adding pockets into my journal pages and sometimes I print on kraft paper to change things up, not just plain white paper.
So I hope you’ll enjoy using this free printable, you can definitely tag me on social media @tortagialla so I can see what you created!
Finally, feel free to spread the word about this free printable and pin to your heart’s content. I’m happy to share my templates and make paper crafting accessible and enjoyable for all. Have a great day!
The other day I was playing around with paper circles and making flower embellishments for bookmaking and scrapbooking. I kept playing with the paper circles, experimenting with different sizes, patterns and arrangements…until wahlah! There amongst my scraps of paper appeared a beautiful, cute little angel! I think it’s the coolest thing…although I’m sure somewhere this has probably been done. However, I’m still in awe of how simple and easy it can be to create cute little decorations.
You can see from my prototypes that by varying the size, paper patterns and arrangement I can end up with a sort of ghost angel or super cute holiday angel… the possibilities are endless! So here’s how you create these cuties. Cut out a bunch of paper circles – although I image you could probably do this with fabric as well! I used my die cutting machine to cut lots of circles, but you could use a paper punch or even freehand it, because I’m sure the variation will end up looking shabby chic cool.
You will need 3 circles to create the body and wings of your angel, plus a smaller one for the halo and another even smaller one for the face. Of course, as you vary the sizing your angel will develop his/her own personality and unique features 🙂 To create the body you simple fold the circles in half and then open up and fold half the other way.
I suppose it’s a common origami move, but with the two folds, you take your circle and sort of squish it with your fingers to create the quarter-circle triangle shape.
If you have trouble doing the squishy move, you can fold your circle a few more times to create those extra fold lines…but you’ll end up with the fold in the center of your quarter-circle triangle shape, which you might not like. I think a little practicing with a few circles will do the trick.
After folding all 3 of my circles, you simple glue them together to form the body and wings of your angel. I keep the center piece as the body and resting on top…then glue in the wings on the two sides sort of interlocking with the body piece…probably easier to just look at the photo to understand.
Then you just add the halo circle on the back and the face on the front…you can draw different expressions – singing, sleepy, smiley…
I played around and created a few of them as you can see and the one with smaller circles for the wings only creates a more proportional angel. You see that by experimenting a big, you can create really unique and pretty angels for your holiday decorations.
I like to put them on my pens and pencils, just hanging around! However, they would make lovely Christmas decorations, a beautiful garland or maybe even on the front of a handmade card or book/journal cover. Lots of ideas flying through my head!
Also, as I was experimenting I realized there are many more things you can create with just paper circles…for example, if you stacked a bunch of the folded circles together in varying size…it could look like Christmas trees…hmm… gotta go experiment some more now. Have fun and thanks for stopping by for this tutorial! Share you links and comments below!
So I saw the videos about the box flower and ornate version from the Cosmo Cricket blog and realized…hey, if I just played a bit with a bunch of circles, I’m sure to create my own paper flowers to use as embellishments. Since I now have a Big Shot it was easy to cut out a whole bunch of circles in various sizes with my nestabilities dies. Actually, if you have circle punches it would be super easy as well. I started by making the box flower…but then just started folding and connecting however I felt like. It was really fun to just play around!
I actually like to flatten everything out instead of puffing up flowers, because my scrapbook pages go in an album and I don’t like too much bulk. However, the more 3D versions can go on the cover of minibooks and such – suddenly ideas were spewing all over and I didn’t have enough circles to play with. Here’s what I’ve created so far and I think they are super cute… maybe this is old news for everyone else?
Who would have thought it really was that easy…if you use pretty pattern paper that you like, the results are bound to be lovely. I’ve never been a buyer of lots of embellishments because it’s odd to use the same item multiple times, unless it’s brads or simple elements. I tend to just buy the basics and try to combine elements to make it my own. One thing I’ve noticed is that I admire so many designs by other folks, especially when looking over the gallery at Two Peas In A Bucket…but I wouldn’t want to do it myself even if I think it’s pretty. Sometimes I look at a layout and just think…hey that’s xyz brand or line all over it and not even getting into the story or photos…which is bizarre because I want my photos to be the focus. I suppose some designers are just showing off their product…and I do love looking at those kinds of projects and admiring them…I just can’t get myself to create in that way. Sometimes I think my work can be a bit bland or boring in comparison, but I soon realize that adding more just because will make it like marketing for scrapbooking product – which is not my job 🙂 Anyway…just random thoughts there on scrapbooking!
Anyway, back to paper flowers…I’m happy to have played a little with paper and still amazed at how a tiny change like different buttons can give you so many different looks. I realize there are only 24 hours in a day, but since I’ve been working on a lot of digital stuff I am missing the paper side of things, too.
Wow, I am always so thankful for all the wonderful people out there who devote their own time to spreading knowledge to others. I just came across this cool website thevirtualinstructor.com and specifically the youtube page for thevirtualinstructor. It’s full of free art lessons…videos of how to use watercolor pencils or mixing paint to create skin tones and composition theory. I believe that Matt is a high school art teacher and illustrator, just sharing information with all of us! It’s so wonderful to be able to learn something new, whether fundamentals or not…it’s always helpful to review for any creative person. Either way, it’s just fun to learn!
I find his way of explanation very easy to understand and follow. Not only is this helpful for adults who want to learn a bit about art…it would be great for homeschoolers as well – he offers free lesson plans. There’s a lot more material on the website than on the youtube channel, so definitely check it out and follow the blog. I guess other art teachers can use the info too… very cool. Hope you learn something new and get inspired this lovely Monday!
Here’s another scrapbooking freebie as I journey along as a digital designer. I really love to draw and experiment with shapes in Illustrator, so I end up with a lot of variations and experiments of just shapes. I’ve realized they are great to compile into clipping masks…so here’s my scalloped borders freebie. You can add borders and accents to your work using the materials you already have. I find that often, just changing up the shape and combination of elements creates a brand new look. Enjoy!
In addition, in celebration of Hoot Fest 2010 with Owl Tree Studio…you can get bonus points regarding this bonus freebie. Lots to play with, so go and participate – read this post for full details about Hoot Fest 2010. Ciao ciao!
Hi folks! I’m practicing with my Wacom tablet and actually using it solely, instead of reverting back to the mouse… causing a bit of sore-arms but I am drawing a lot more digistamps as a result 🙂 Here’s a quick doodle of a casual lady that I thought would be nice to share with you all. Great for mom cards or girlfriend themed cards, I think…enjoy!
Looking for a quick and easy Halloween party invite template that you can print at home? Download this cute skulls design notecards and start promoting your get together!
I thought it would be nice to have a host and hostess as part of the design, hence the two skulls, partners in life! And the blank lined area underneath lets you write in whatever details or text that applies to you.
Originally I thought of this as a party invite, but it can certainly be a journaling card, decoration in your planner or just something to print for the kids to color up and write about Halloween this year. Can actually be for All Saints Day as well with the skulls! Maybe you can decorate and draw over them with sugar skull designs? The sky is the limit.
Need to label your Halloween treats in a cute way? Download this free treats only printable!
The other day, I doodled up a little Halloween girl and wrote “Treats Only, please!” because I do like the treat part, not so much the trick part of this holiday. I remember being scared wayyyy too much in childhood, because our neighborhood had a thing for haunted houses and “trials” before you actually get a candy. Well, no more of that…I embrace just having treats!
After finishing up my art journal page of this illustration, I thought it would be really cute attached to the Halloween treats handed out…so here we have a new freebie printable! Pretty cute labels, no?
I suppose you can use these as toppers for bags as well or labels on candy bars…anything in the Halloween spirit having to do with treats! Yay! Enjoy and feel free to spread the word and share a link to this post! Thank you and have fun!
Looking For More FREE Printables?
If you enjoyed this printable freebie, you might also enjoy the other digital downloads I have posted. Happy downloading and happy printing!
Angel policy: All free printables posted are for PERSONAL USE ONLY. Feel free to share as long as you link back to this website. Thank you for spreading the love!
Appreciate my work?
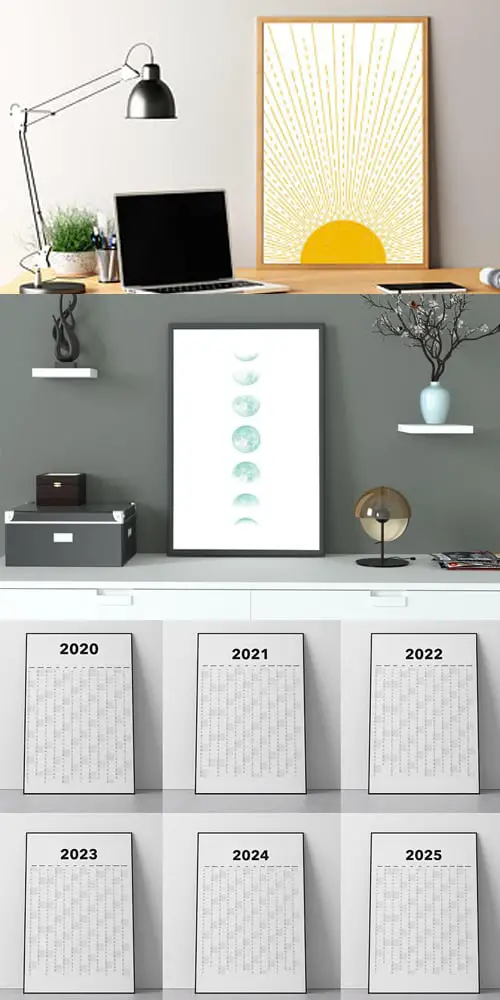
Need calendar and art printables? Check out the premium poster printables in my Etsy shop Print up to 1 meter tall at 300dpi.
DISCLAIMER: This blog contains advertisements as well as affiliate links. We might be compensated if you click through to affiliated recommendations through ShareASale and other reputable companies. As an Amazon Associate I also earn from qualifying purchases.
For more information: Terms and Conditions Privacy Policy Cookies Policy