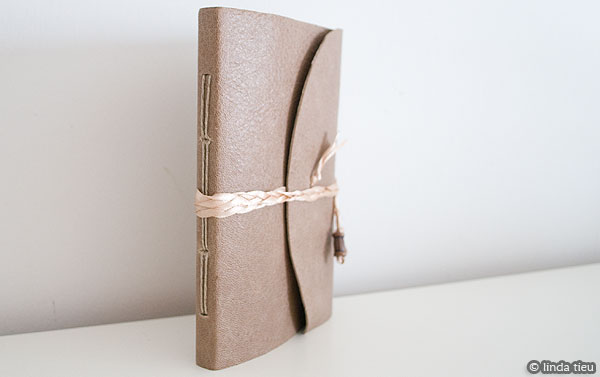
The most common type of sewn bookbinding that I often default to, falls into the category of longstitch binding. It’s really a general categorization for many different methods of sewn binding. People have invented their own patterns and techniques and have probably called it something else as well. Suffice to say, it’s a general way to denote sewing your paper to the cover of your book. I’m sure you’ve noticed journals out there with exposed sewing in the binding in a variety of patterns and designs. They are all technically longstitch binding techniques, but in different patterns. In this tutorial, I’ll take you the process of creating a leather journal using a simple straight longstitch pattern through slots in the cover instead of holes. Here’s what we’ll be making…
The materials for this project include leather, paper, thread, needle, an awl and cutting device of some sort.
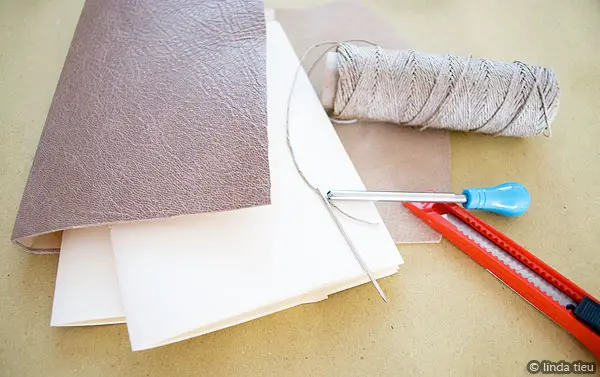
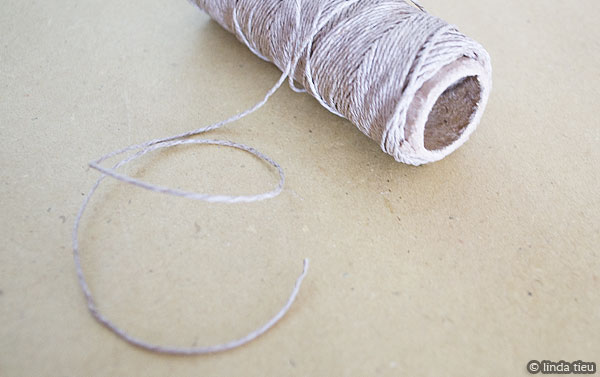
Regarding the thread, I’m using a natural linen thread in this example, but you can also use waxed thread sold specifically for bookbinding to prevent knotting up when sewing. For this method, you’ll be using a short piece of thread in sewing, so I don’t think you really have to worry about knotting. Even regular embroidery thread or ribbon can be used for binding. Anything that doesn’t stretch out and has some strength to it will work.
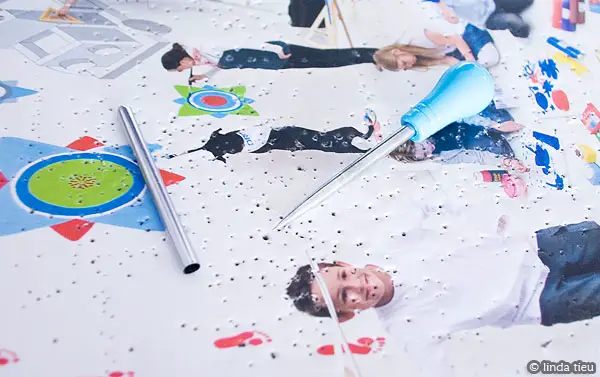
Regarding my little awl, I use it to punch holes in the paper. Some folks use a drill to go through huge stacks of paper or you can even use a tiny hole puncher if you have it. An awl is a traditional tool and you’ll really find it quite convenient. Along with the awl, I keep an old catalog to punch on top of…keeping my table hole-less. 🙂
Let me first explain how I made my leather cover, although you can do this with any other type of material. You can certainly substitute the leather with thick paper, fabric or any material that can wrap around the entire book. If you want to use something rigid, like cardboard, just make sure you cut out three pieces for the back, front and binding of the book cover. You can connect rigid pieces together with bookcloth, fabric or strong tape. Some folks connect two pieces of board with bookcloth or fabric which just leaves the binding really soft and malleable.
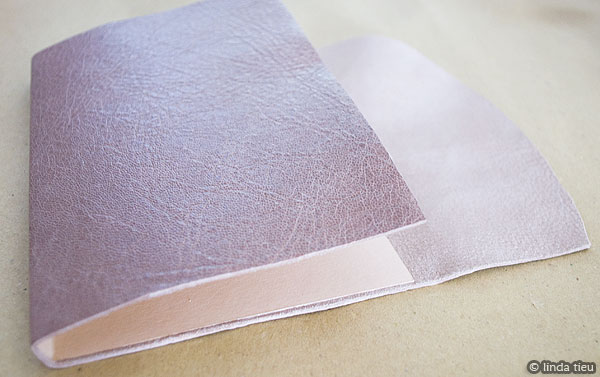
If I use a very heavy weight type of leather, I usually just cut it to size and consider it ready. Note the extra material on the right hand side as well. I freehand cut that extra part, so it can wrap onto the top of the journal as a closure. Entirely up to you if you want that extra flap. In this particular case I had a much thinner piece leather though and decided to glue a piece of cardstock to it as a liner paper, giving it more strength. To calculate the size of my liner paper and cover material, I usually give and extra 1/8″ all around to give the inside papers room to breath, plus the width of binding depending how many signatures you have. A signature is a term to refer to the folded sheets of paper that you will sew into your book. Usually you have several stacks of these, depending on how many pages you want in the finished book. I usually allow for 1/4″ per signature, since I’m usually pretty thick cardstock papers, 8 folded sheets per signature. If you are not sure about the measurements, the best thing to do is to prepare all your signatures, then use it to measure out what your final cover size should be. You can score your liner paper and/or cover material as well, so that it’s ready to be put together.
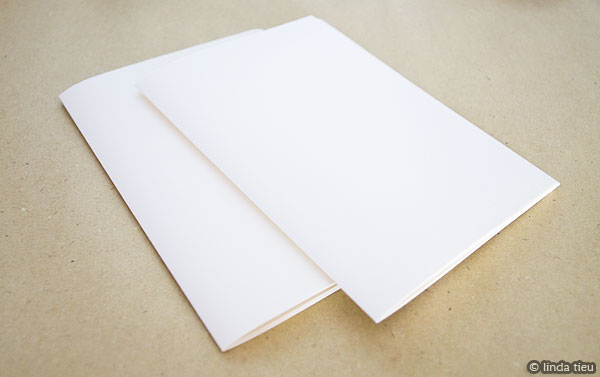
Let’s prepare the signatures of paper that will go inside your book. I usually go with the natural sizes of the paper I use. I don’t like to waste material, so I take whatever size the paper is and fold it in half to create the signatures and therefore, size of my book. To go smaller in size, I cut all the sheets in half, then fold to create my signatures. This pretty much creates a predetermined range of sizes for my books, since paper comes in predetermined sizes. I just don’t like cutting paper into a custom size as it’s hard to use the leftovers. In some cases, I have made strangely sized books from leftovers I’ve had lying around, so in it’s really up to you on the size. I’ve also made journals with varying sizes of paper inside, a nice way to make an eclectic junky journal. In this example, I’ve taken regular A4 sized paper (similar to Letter-size) and ripped them in half. I actually really like the deckled edge when you rip paper instead of cutting it.
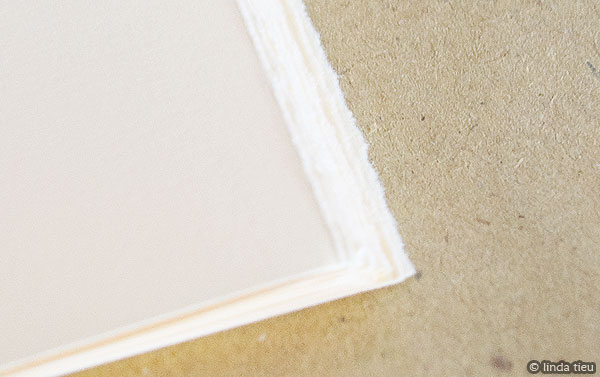
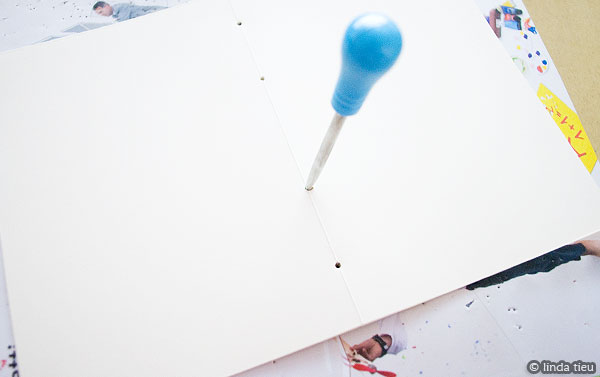
I folded all these papers in half, each signature containing 8 sheets of paper. With two signatures, I have 64 pages if you are flipping through it like a book. It doesn’t seem like a lot, but really it is enough for the first time. It’s better to make smaller books, so you can keep making them and evolve after using them. You’ll start to realize what you like and don’t like. Once you have all your signatures, it’s time to punch the holes. It actually doesn’t matter how many holes you make, it can be an even number or odd number. In the end there will always be a way to sew it together. You just want to make sure there are enough to secure the book together and that they are not so far apart to create a weak/loose part of your book. Often the pattern and number of holes created is decided by what the bookmaker intends for the sewing seen in the binding. In this tutorial we’ll go with 4 holes in each signature, unevenly spaced because I measure in from the edges of the paper and just guessstimate something that looks good. After some experimentation you’ll get the hang of it and will probably start to design your own patterns!
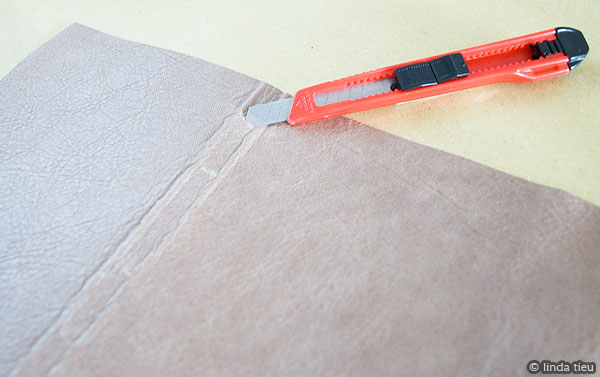
For the cover, instead of punching matching holes for each signature I’ve decided to go with slots. This just means cutting a little line across where the holes would have been in the cover, instead of punching the individual holes. This makes it easier especially if you have a lot of signatures and don’t want the mess of aligning all the holes. In some cases you’re holes would be so close together they might actually make a slot anyway. I personally just like the ease of sewing when there’s a slot to go through and it looks pretty cool too. Mark your slot lines on the cover and carefully cut them with your knife, making sure you’ve gone completely through to the other side of your cover material.
Now that you have all your materials prepped, you are ready to sew! I work with one signature at a time, planning to leave the tied knot on the inside bottom hole of the signatures. This knot can end up anywhere you like though, since you weave in and out of the holes, you always end up next to where you started to tie the final knot. Just to give you an example of why this matters…if you like ribbon let’s say, you might actually want to use ribbon to thread your book together and make a knot on the outside binding. This could give you a decorative binding with ribbon knotted bows on the outside…just an idea! So here goes with the sewing. I start at the bottom hole inside my first signature and thread my string through to the outside cover…leaving a little tail like so.
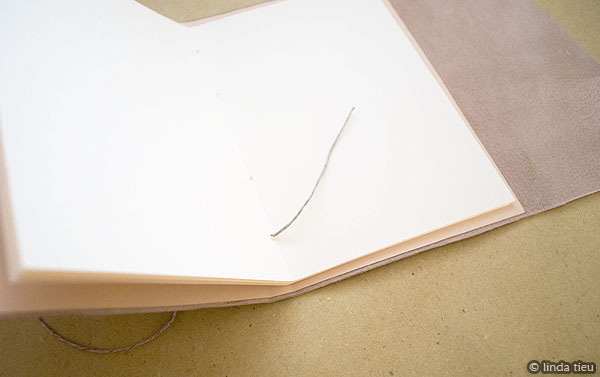
With needle on the outside, I thread it into the next hole through the cover and signature of paper. I just keeping doing this weaving in and out until there are no holes left.
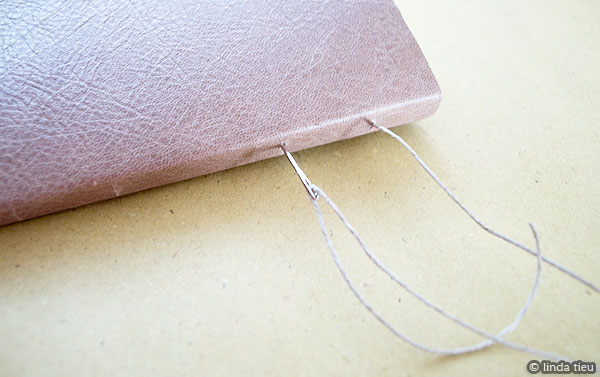
This is what you see on the outside binding…
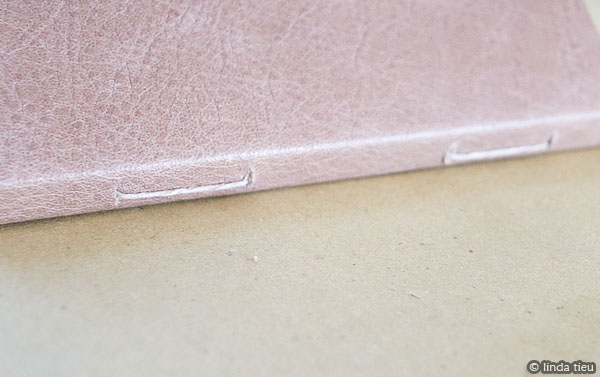
And this is what you see on the inside. You then continue by going back down, weaving in and out the same holes.
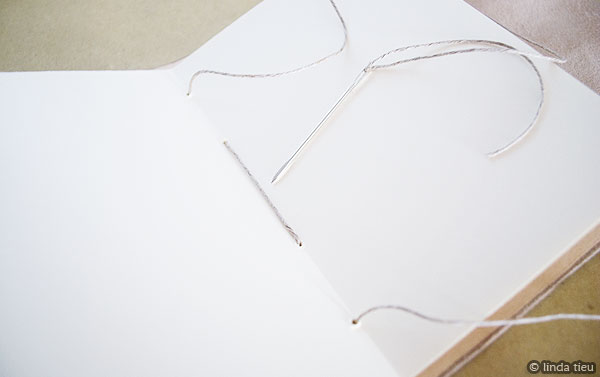
Weave the thread in and out…making sure to keep your thread tight, papers in their position and the end tail still there!
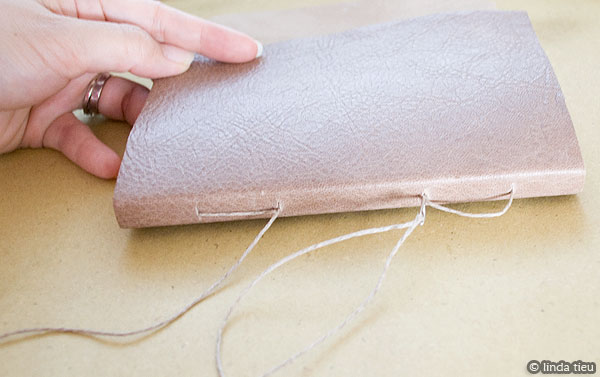
This will basically fill in the spaces you see that doesn’t have thread running across it. In the end you’ll see thread straight across the binding, hole to hole. Finally you will reach the hole right next to your tail end and that’s when you tie it off.
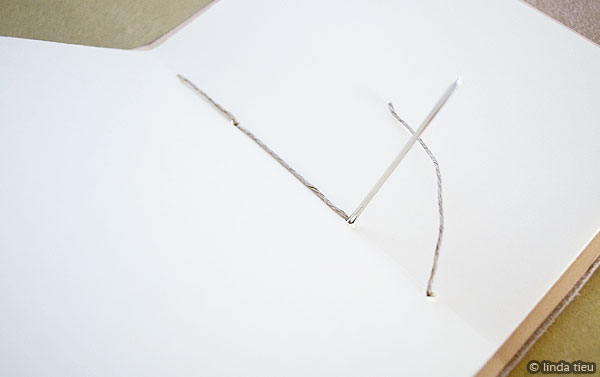
I just tie a regular knot to secure it. You can also double knot it, especially with a thinner type of string to make it more secure. First signature done – wahlah!
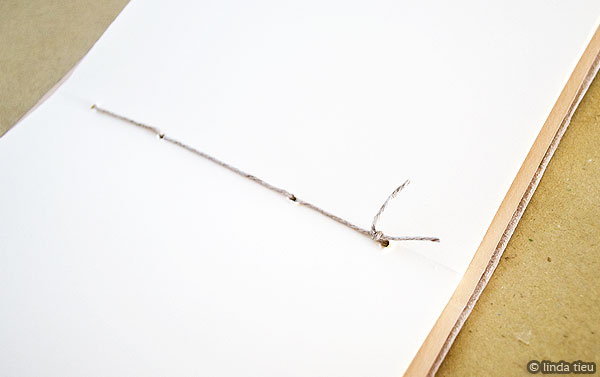
This is a really simple way to bind your signatures into the cover one by one. Just weaving in and out with the longstitch binding technique, making sure you are tightening the thread, everything tight and nothing loosey goosey. I really like the fact that there’s thread all across the binding, but it’s created with the weaving and not a loose piece across the whole way. The most important thing is to check your thread tightness, I think.
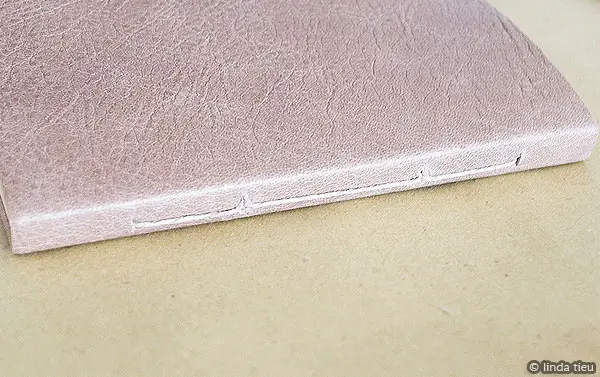
After sewing in my second signature, you’ll see the binding looks like this…
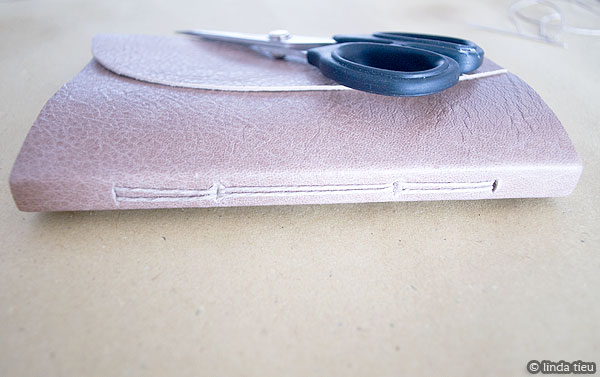
Pretty cool, huh? If you have more signatures, you’ll probably be playing around with tightness of the threads and pushing them up and down, so it’s all straight and pretty on the binding. I finalized this journal by braiding some ribbon and attaching it to the closure flap. I also added a bead to the end of the ribbon and now I have a wraparound closure that really completes the whole look of the journal. Functional and pretty…nice, huh?
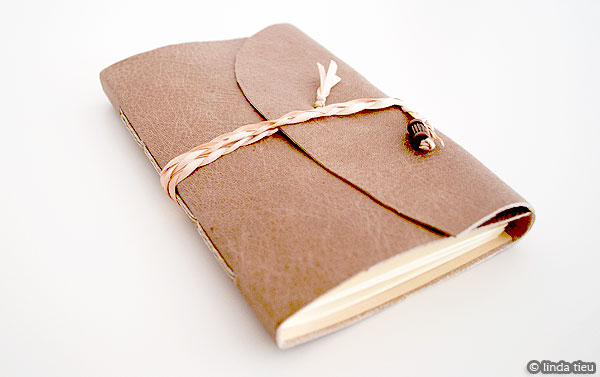
With this example there were only two signatures, but of course you can sew as many of them as needed to complete your book. If you use super thick paper, you might have more signatures by including less sheets in each stack. Here are some other journals I’ve made using longstitching and slots in the cover. You can see that a variation in the number of holes or thickness of the signatures can really change up the look.
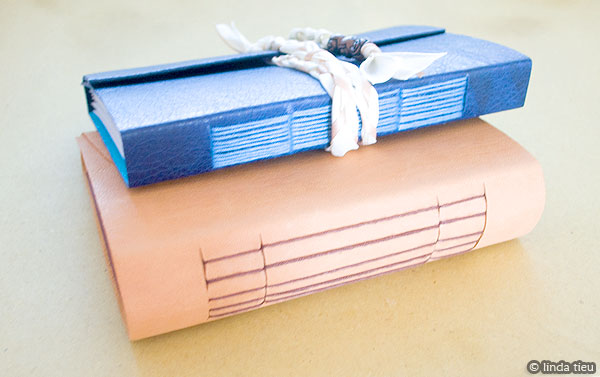
With all the sewing in the binding, this type of book looks complicated, but it’s really the simplest kind with the straight stitching of each individual signature. Think of the possibilities if you vary up the materials, size and pattern. Happy bookbinding!

