One of the first types of bookbinding I learned about was how to make an accordion book or aka concertina book. It’s a super easy peasy way to transform paper, glue and a piece of ribbon into a functional creation! I imagine that many of you have probably made one these before in grade school since it’s an especially easy project for kids to do. However, that doesn’t mean you won’t be able to create something that looks really snazzy and classy at the same time. The Booklyn Artists Alliance has a great PDF that’s actually an education manual for kids. It illustrates what an accordion book is and how you can construct your pages along with lots of variations.
So why would one choose to create an accordion book? Well, because the book is a series of folded pages it’s great for display purposes. You can use it like a regular book but you can also spread it open for full-viewing of every page. It’s an easy type of book to create without any kind of complicated sewing and I actually like it for the folded page aspect. Whenever I have thin paper that I only want to use one side of, I usually create an accordion book, where the pages are folded, so you only write on one side. I also think it’s a fun type of book to make if you piece together scraps of papers you have lying around!
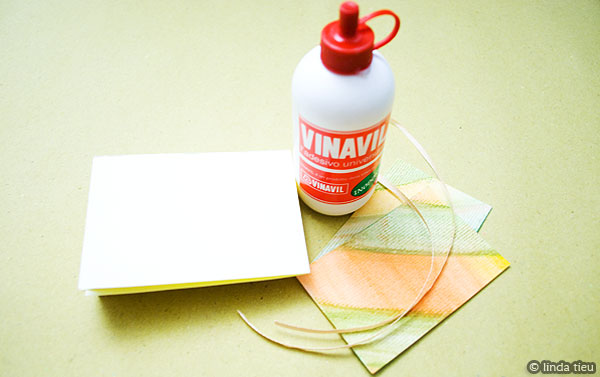
To make an accordion book you need paper, glue and I add some ribbon in for the closure although a closure is not required. To walk you through the process, I’ve taken some scrap strips of paper I have lying around, some scrap painted papers and strip of ribbon along with my trusty PVA glue, Vinavil.
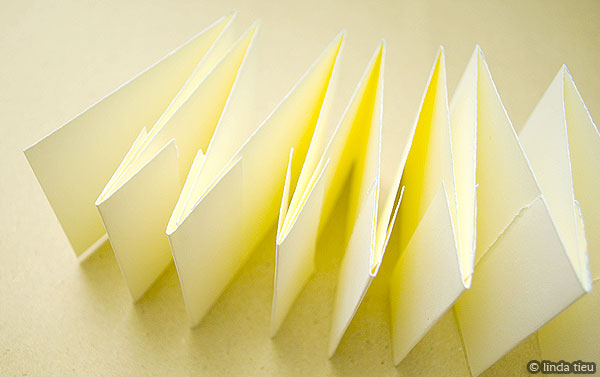
The first thing to do is to construct your pages. You basically need to create a back-and-forth fold of pages…however long you want your book to be, you can make it! If you buy large sheets of cardstock, it’s possible to get a little book without piecing any paper together, you just cut a strip and fold. However, if you want to use scraps or you need to piece together papers you can cut little tabs and connect each piece of folded pages together as I did or you can even glue one whole side to the other to create your accordion fold of pages. If you don’t mind doing a bit of measuring you can fold you paper and leave a tiny strip as a connecting flap as well. Any way you want to do it, just get your paper folded and pieced together into an accordion fold. Whew, the bulk of the work is literally done at this point!
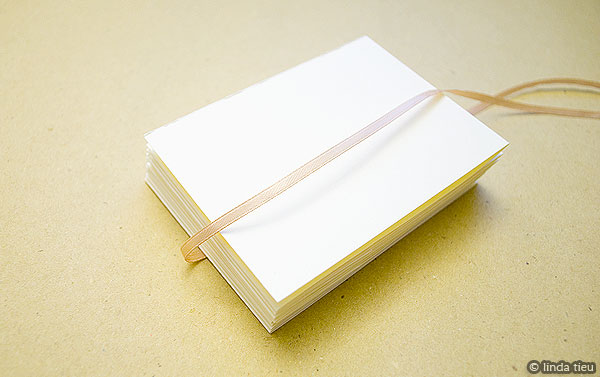
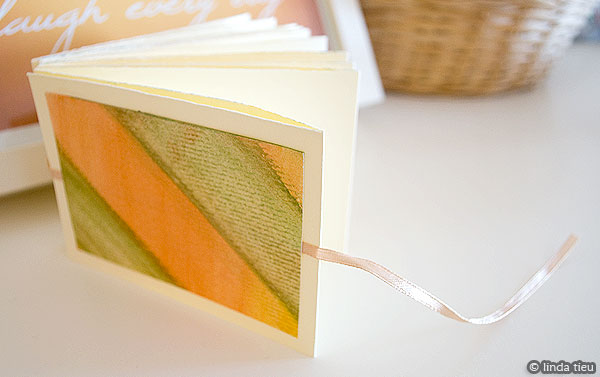
Now you can add a cover to your book to keep it sturdy and strong. It’s also a good time to think about how you might add your closure as well, to sort of hide it behind your cover material. I’ve decided to only use one side of the pages of my book, so I’m wrapping ribbon all around my stack of paper. The left side is going to be the “binding” part if you flip it like a book, so the ribbon goes around it. If you wanted your book to open up entirely, you could cut your ribbon into four pieces and attach it to the front and back, edges hanging out to the left and right. This way you can tie the ribbon on the left and right of your book to close it securely, but you can also untie both sides and your book can stretch out entirely.
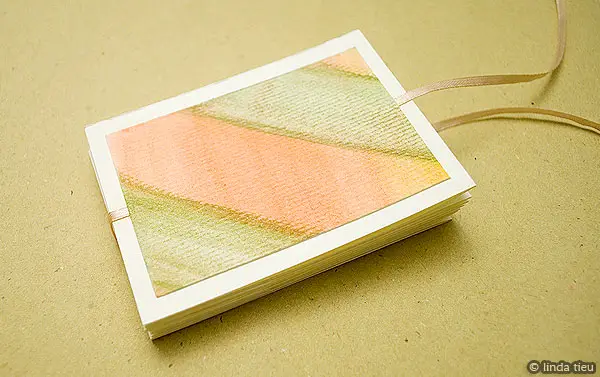
My cover material is just some scrap painted papers I glued on top of the ribbon to the front and back covers. It’s actually smaller than the book size itself, creating a nice framed look. You can of course use thicker material like chipboard to create a hardcover.
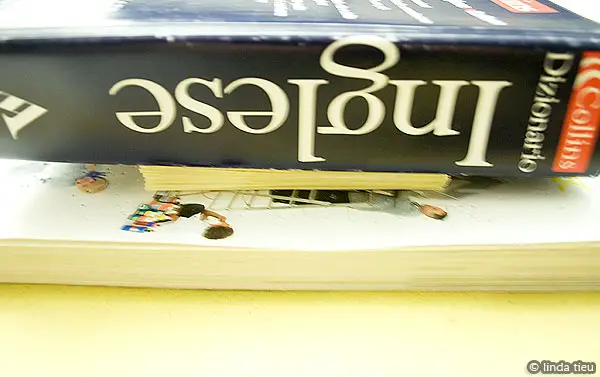
After gluing everything together you should put it under some heavy books to apply pressure and let it dry. That will ensure your book is secure and the glue is really binding it all together.
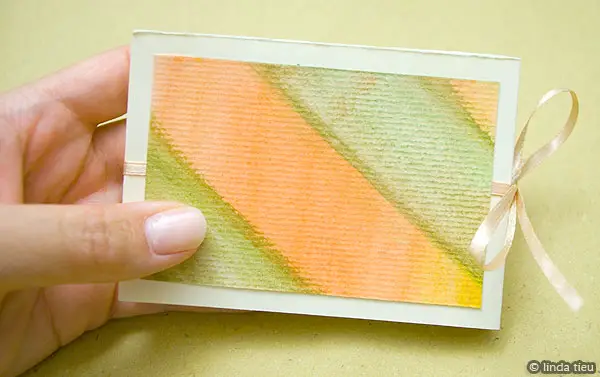
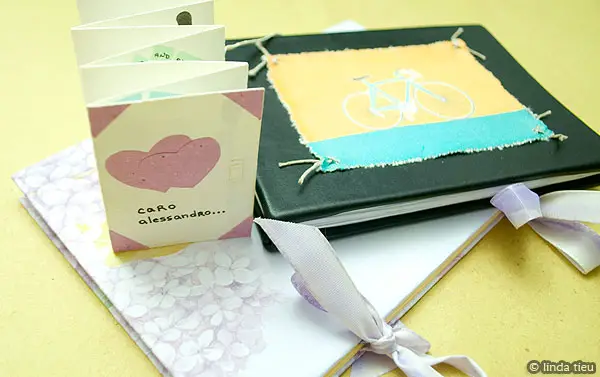
Tah-dah! Easy peasy accordion book all done…how lovely is that? In my example, the ribbon ties on the right…but know that you could have attached the ribbons to tie on either side or skip that part all together if you don’t need a closure. Especially if you are going to use it as a showcase for photos on a shelf, you don’t really need closure at all. I’m sure you are realizing how easy it really is to bind a book – yes, this is bookbinding! I think this is probably the first book you’ll make if you take a bookbinding class somewhere. Remember that once you’ve learned the process, you can vary the size, materials and closure to create really unique books for any occasion or purpose. Here are a few I’ve created previously.
There are lots of ideas out there on the internet as well, for example The Paper Source envelope accordion book. How cool is that? You can hang it up to hold your receipts or notes as well as close it up to take on the go. I hope you give it try and enjoy the process of creating something super cool and functional. Ciao ciao!
DISCLAIMER: This post contains ads and affiliate links where applicable.
More Resources:
I wholeheartedly recommend CreativeBug (Get 3 months subscription for $1) because they have a coptic stitch tutorial as well and it’s very official by a professional bookbinder, so that is something to check out!
As with all things, once you try it a couple times, you’ll figure it out. So don’t hesitate! The results are satisfying for sure, so have fun!
Here are some bookbinding books on Amazon if you are looking to learn more:

